On May 30, 2015 I began the journey of restoring Henry Roland’s quilt that was given to him by his late grandmother when he was a young boy. As Henry traveled around the country and lived in different places, the quilt finally made it back to our home in 2015 after being in storage for nearly a decade. My goal for reconstruction was to honor the original integrity and history of the quilt but recreate this treasured piece into a newish treasured quilt that could be actually used once again and loved in a new way. In the photos and text that follow, I’ll share my 1,295 day journey that ended with a finished quilt on December 15, 2018 and gifted to Henry on Christmas Eve, 2018.

The quilt was actually more like a duvet. It had two panels of hand sewn patchwork and a big comforter type of material in the middle. It was dirty, musty, and the fabric was disintegrating. In the photo, you can see where the fabric is tattered. Henry remembers the fabric to be scraps from dresses his grandmother wore around the house.
So, Beth to the rescue! Right?! YES. I mean, I’ll try! I felt fairly confident at this point.

First, I removed the inside batting/comforter (pictured left) and that went immediately in the trash. Then, I washed the fabric in the bathtub with a vintage textile soap. A cloudy day in ATX, so I spread the fabric out in the driveway to air dry.

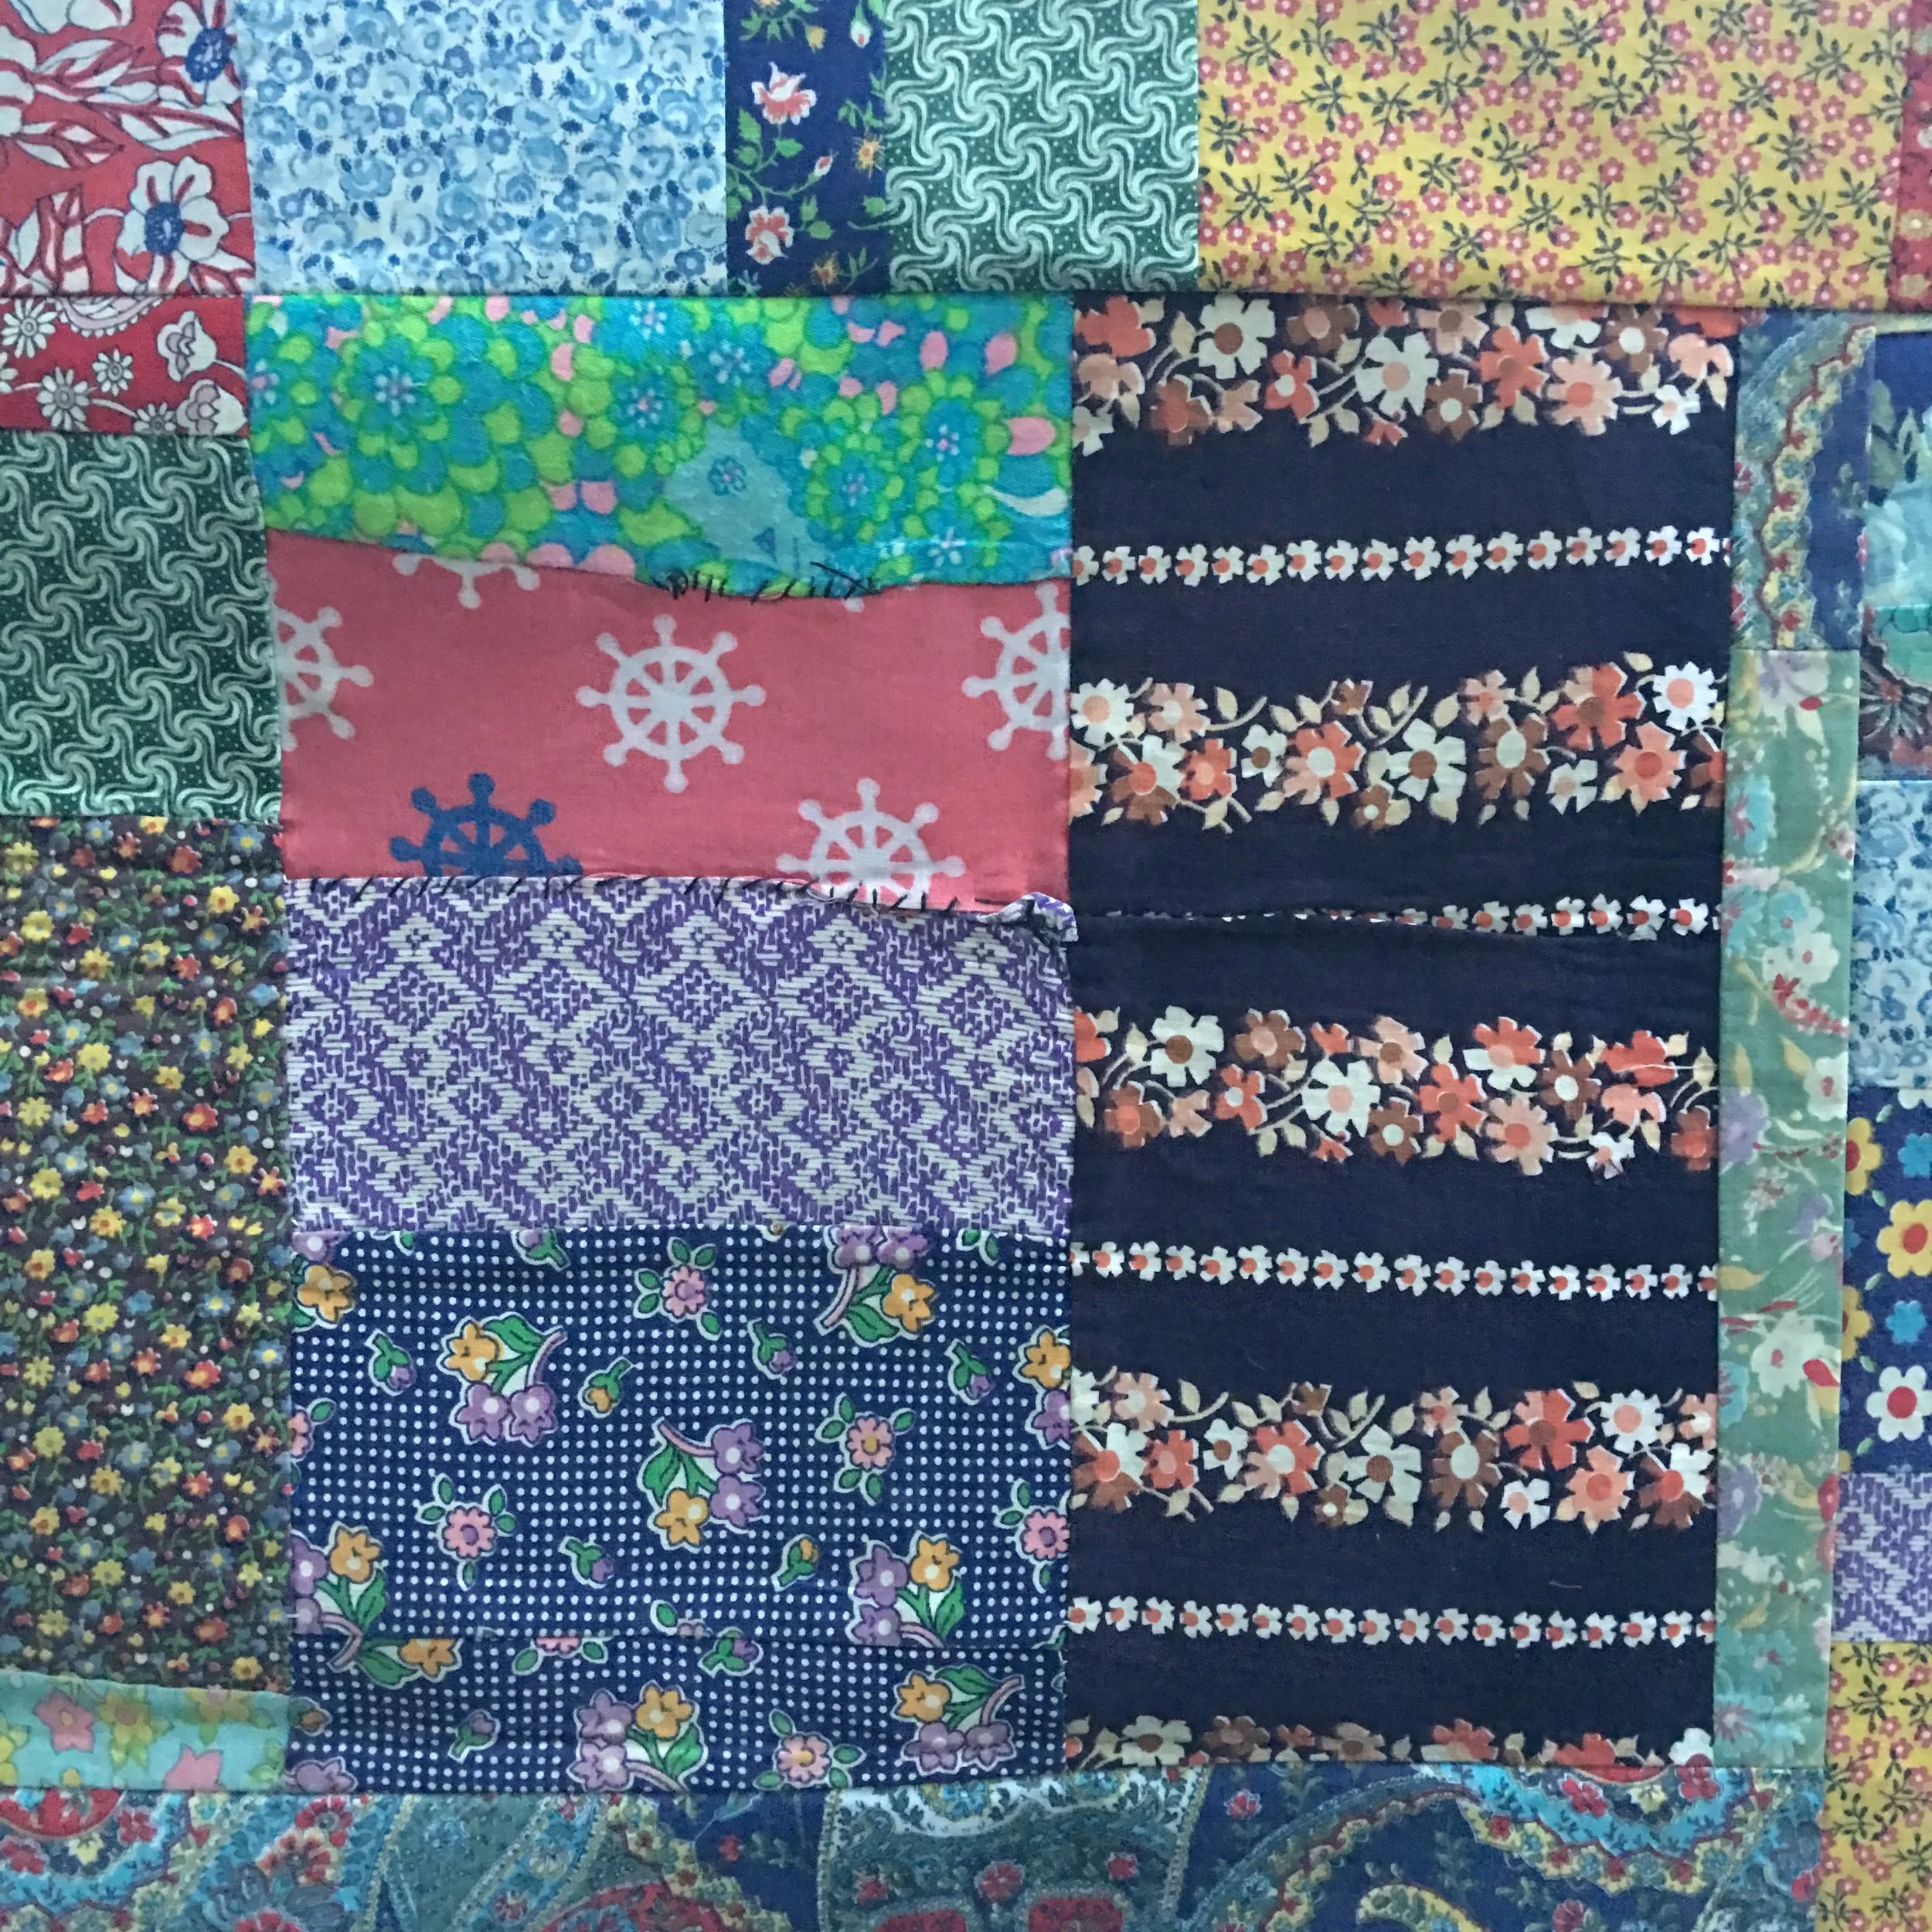
Using a seam ripper and some scissors, I unpicked each hand stitch in order to make my way to the parts of the quilt that were falling apart. A seriously lovely mix of mostly florals…no sarcasm here, I love all these prints! Notice the anchor fabric in there? As a little boy, that stood out to Henry and I knew I had to use all of it in the quilt top. The challenge was that it was the most fragile of all the pieces.

Selvages were discovered and of course I googled Cranston Print Works.
The panels in the best shape stayed together so that the original stitches done by his grandmother could be incorporated into the quilt top.

I trimmed down the fabric pieces so that they were all rectangles. I even used some of those special rectangles called squares (TEKS 1.6C). Since the fabric was fragile, I backed each little piece with a fusible interfacing. I spent days and days and days doing this very exciting step. Measuring, cutting, ironing, fusing, cutting, measuring, and trimming each little rectangle. REPEAT times 333.
At the same time I was perfecting each little rectangle, I started sewed all those little rectangles into bigger rectangles to make bigger panels. I played around with the idea of adding a brand new gray linen type of material into the mix, and a little bit of that did make it in, but I’m glad I didn’t use more. I struggled so hard with the design of the quilt top. Panels would go up on the design wall with good intentions of finishing, and then…down they would go back into their box. Up and down, up and down, up and down…until finally…one day I made some decisions and finished the top.

I settled on a design that included an H for Henry along with all the special blocks like the glittery H piece, grandma’s original stitching, selvages, and the treasured anchor fabric.
Then, I actually put the top away for another year and I’m so glad I did because if I finished it that week, it would not have turned out in the same way. This past year, I learned some new techniques that truly made a difference in the finished product.


This gallery shows the final steps of basting, quilting, and binding. The backing fabric is a beautiful blueish gray cotton fabric (I can’t remember the brand but it’s so soft) and the batting is Quilters Dream Wool which is so puffy and cozy. Henry asked me one day if the quilt could be puffy like it used to be. I’m thinking well, no it’s not going to be that puffy but I wasn’t sure how to even make a quilt puffy. So, I let that question marinate for a long time. Like 3 years long. After I used the Quilters Dream Wool batting on a different quilt that I hand tied this year (2018), I immediately knew that combination was the solution! It hit me like a ton of bricks! EUREKA!
Henry’s quilt is light, puffy, fresh, clean and the ultimate snuggler. I tied it with wool yarn so that the puffy yarn would stand out on the back. Bernina stitch 1329 helped out for the fold over binding because I thought it reminded me of the hand stitching that Henry’s grandmother used in her quilt.


My final thoughts: Take your time, don’t rush the process. Remember that when you are struggling, you are learning and one day you will have that breakthrough ah-ha moment and that moment will be the ultimate intrinsic reward. My other reward is watching Henry carry this quilt all over the house because HE LOVES IT! Put a fork in me, my work here is DONE! 100% A+++